Zenodo: step-by-step guide for preservation and sharing of research data and software
This is a step-by-step guide for sharing data and software in Zenodo, a popular generic data repository. For more general information about the use of Zenodo as well as other data repositories, check our research tip "When to use Zenodo to preserve and share research data?", RDM web page and research tip on data repositories.
Getting started
Verify that your research data can be shared in Zenodo and share your research dataset in five steps:
- Prepare your data for deposit by creating a data package including data files, metadata and other documentation.
- Create a Zenodo account.
- Upload your files to a new Zenodo record.
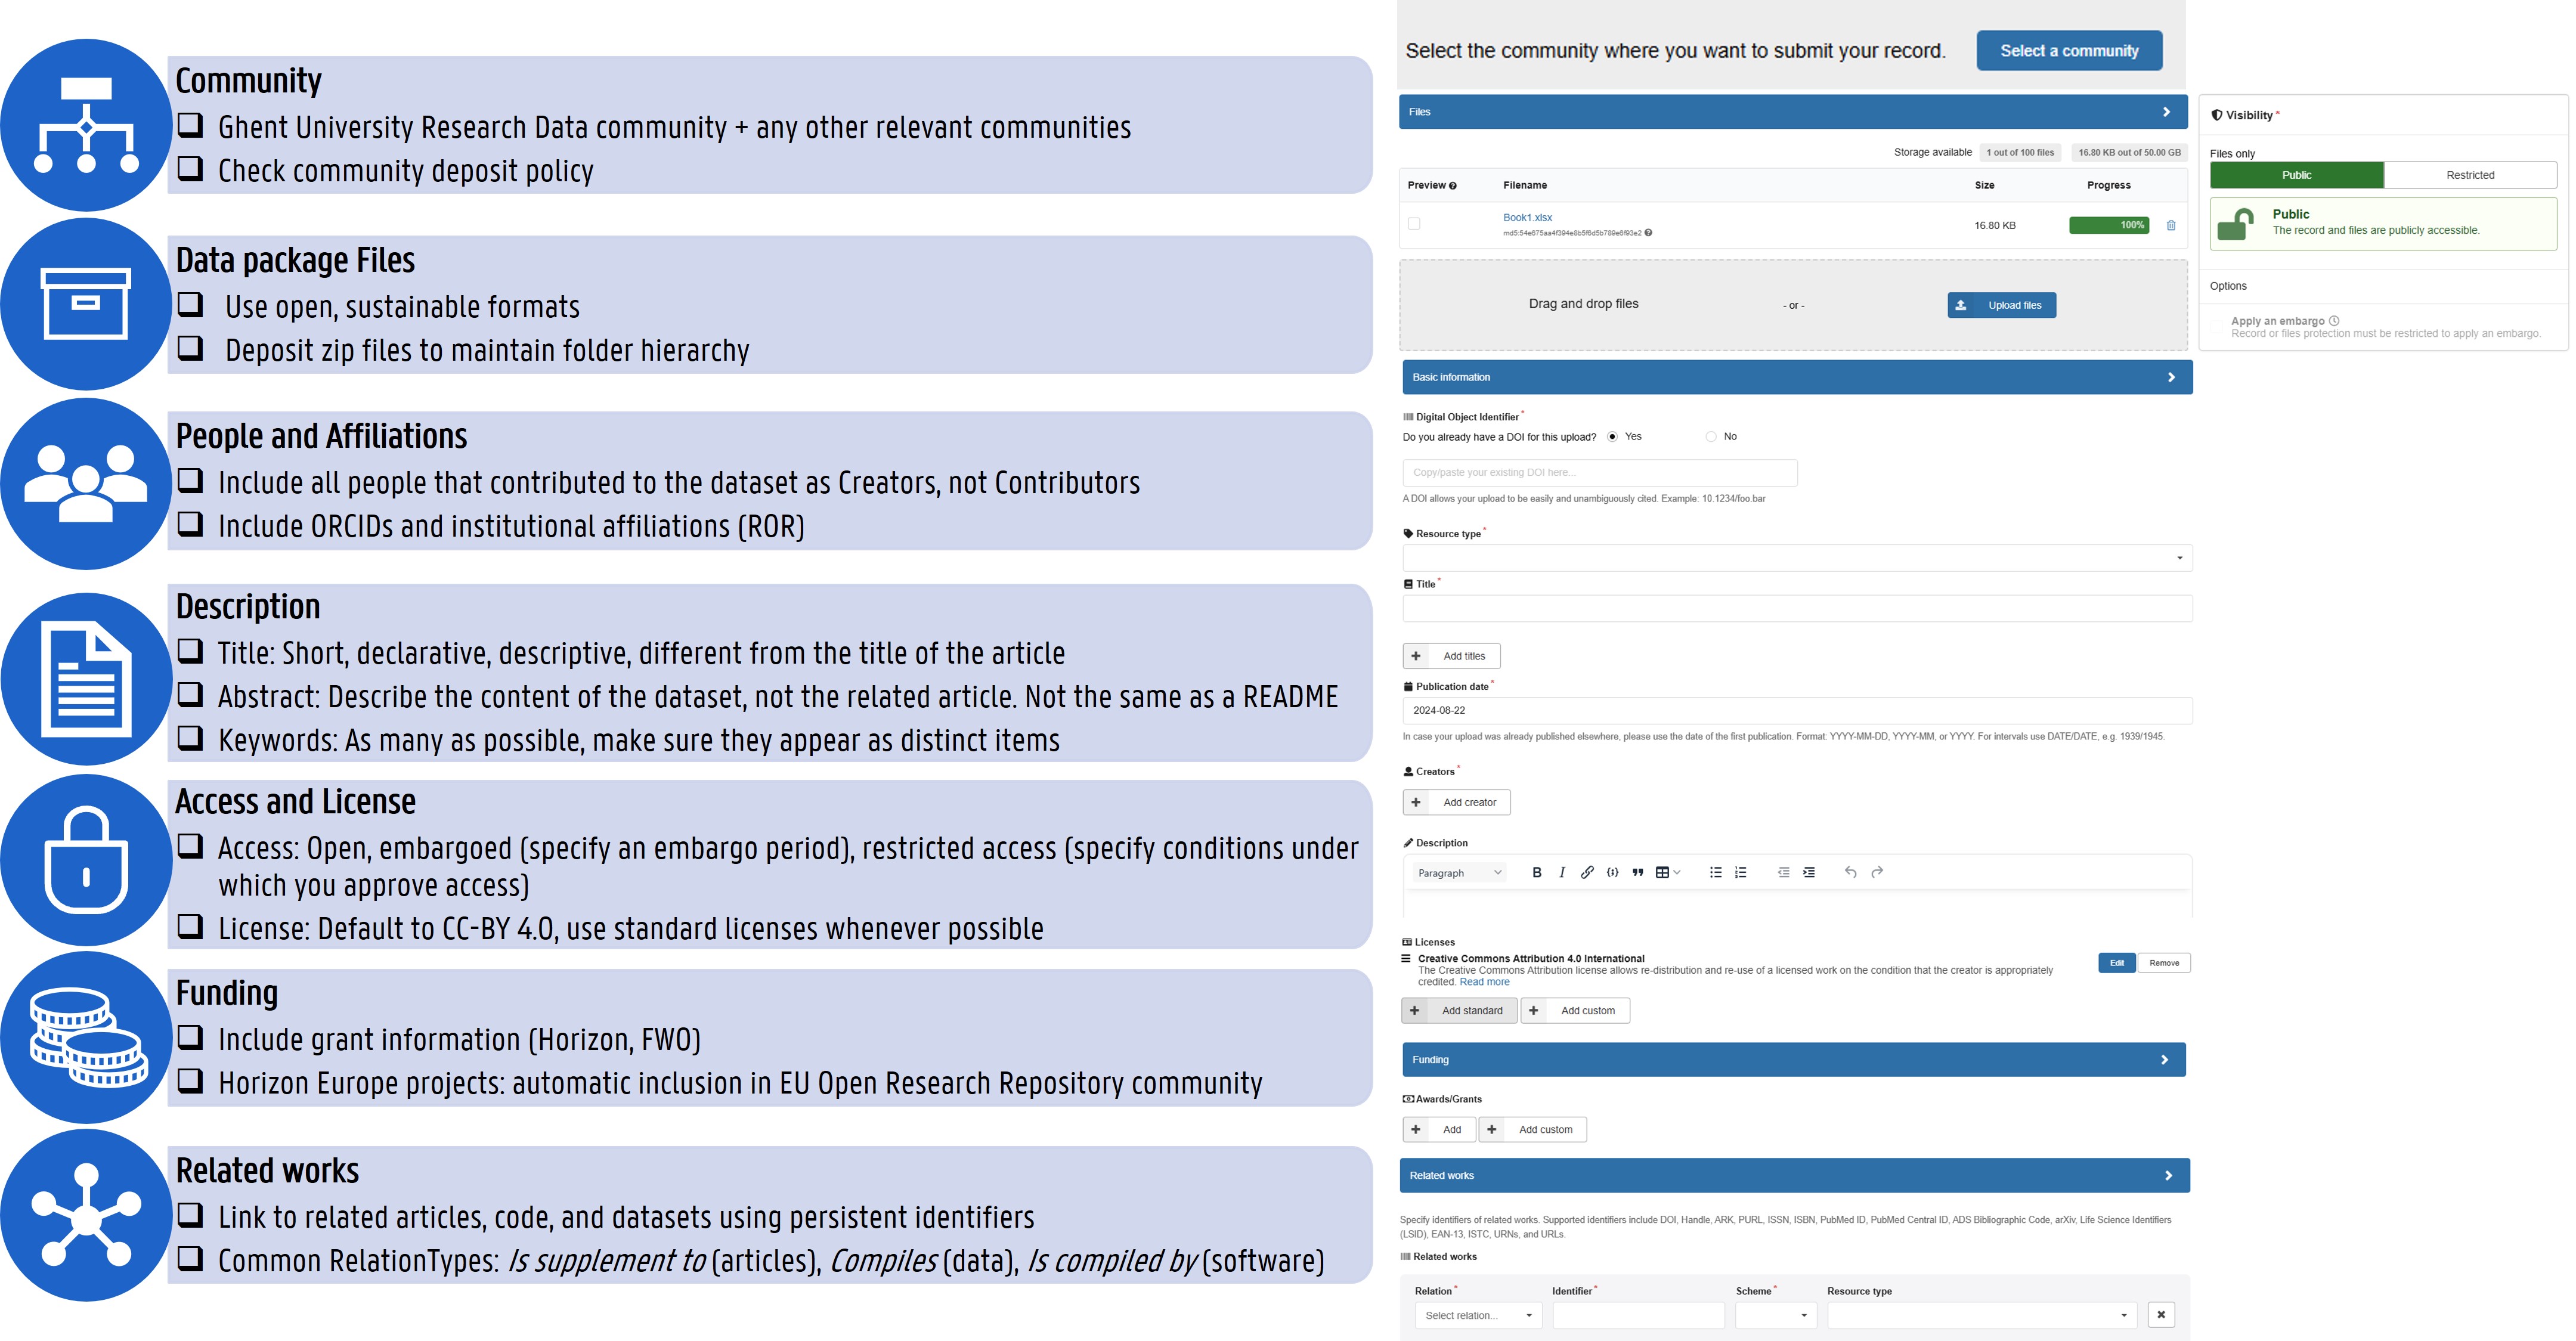
- Describe the dataset and set the visibility. Use the data deposit check list for tips.
- Publish the record.
Do you want to preserve software instead of research data? Check Preserve software in Zenodo first.
Create a Zenodo account and link your existing accounts
Go to https://zenodo.org/signup/ to create your Zenodo account. New accounts can be created via an email address, or directly through your GitHub, ORCID, or OpenAIRE account.
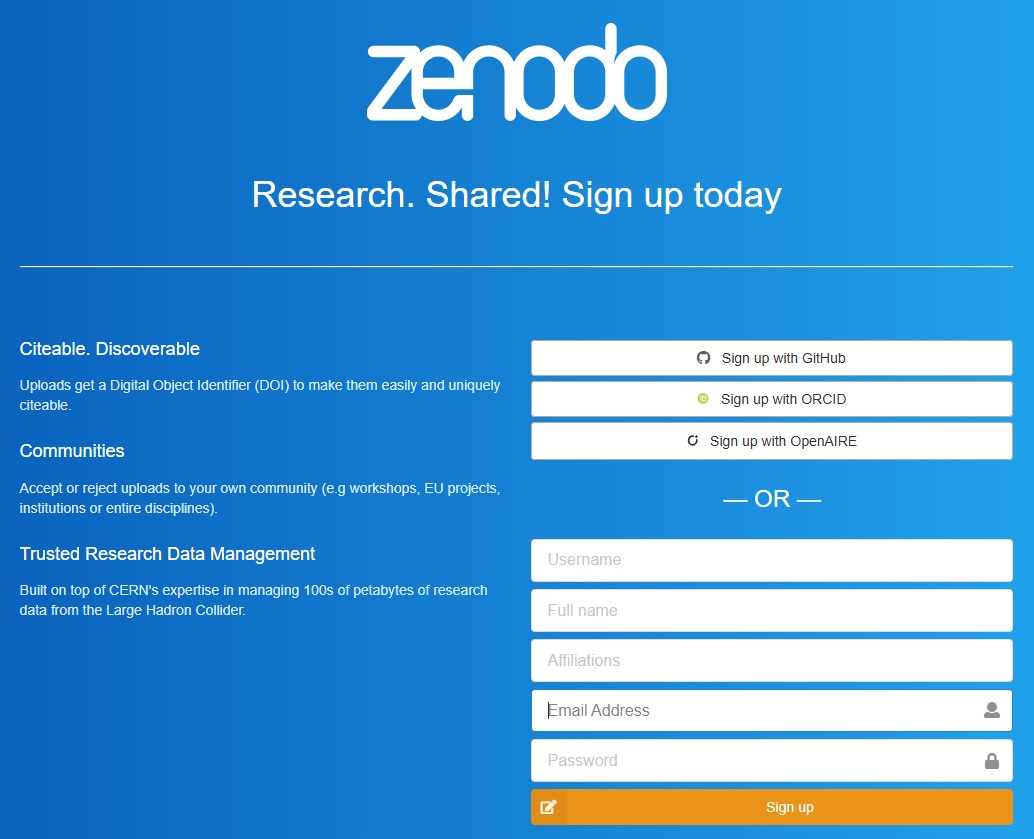
- Recommended: sign up with ORCID to unambiguously identify yourself as creator of a Zenodo record and for ORCID to automatically harvest your created records to your ORCID page.
- Link your GitHub account: for integration of your GitHub repository with Zenodo, and to preserve a “frozen” version of your software with a DOI for referencing (see Preserve software in Zenodo).
After sign-up, accounts can be linked to your Zenodo account through your profile page.
Upload your files to a new Zenodo record
After creating the data package (data, metadata and other documentation) that you want to share in Zenodo, follow these steps to upload your files:
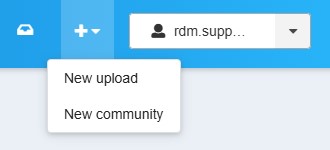
- To create a new record, click the “+” symbol in the upper right corner and select “New upload”.
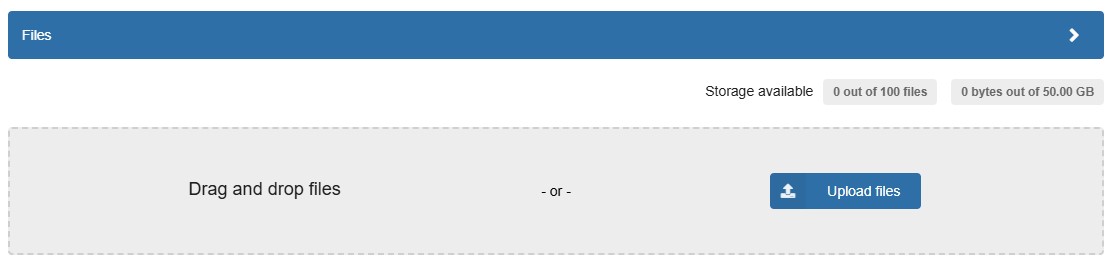
- Upload or drag and drop the files. If you want to preserve a hierarchical structure to your files, you can upload a ZIP archive of the files.
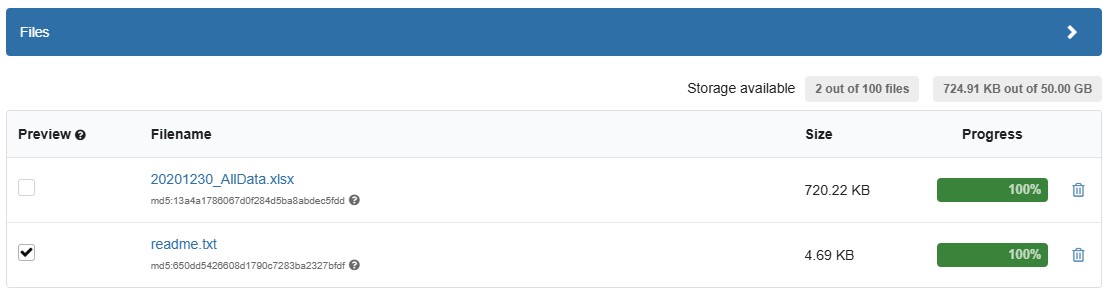
- Once uploaded, you can select the files that you would like to be previewed on the landing page of your record using the check box in the Preview column.
Be aware that files cannot be added, removed, or modified after publishing your dataset record. Any changes to the files of your record will generate a new version of your Zenodo record (with a new DOI). Therefore, it is important to be certain that you have the correct files before publishing the record.
By default, Zenodo limits each dataset record to 100 files and 50GB. If you need additional space, you can apply for an exceptional quota increase up to 200GB. Datasets of EU projects in the EU Open Research Repository community get a quota per record of 200GB.
Describe your dataset and set the visibility
In Zenodo, you describe your dataset by providing metadata in the input form. In the sections below, we outline the most important metadata fields. For a comprehensive overview, see Zenodo’s documentation. Use the metadata checklist for sharing data on Zenodo to ensure that your metadata is of good quality.
Note that metadata for a Zenodo record can be edited at any time, without generating a new version.
Basic information
Here is where you can provide the most important metadata for your record.
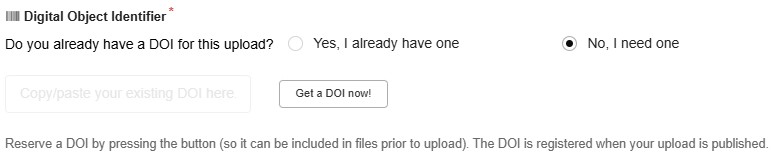
DOI – You can generate a new DOI for your record or provide one that has already been allocated for you (e.g., by a journal). If you choose to generate a DOI, you will immediately be provided with the DOI if you wish to reference it in another work, but the DOI will not be activated until the dataset is published.
Resource Type – Be sure to select the most appropriate resource type for your record. Most frequently, this will be Dataset.
Title – Choose as title a short, declarative sentence that describes the contents of the record. Ideally, choose a title that differs from any associated publication (e.g., ‘Data from “…”’).
Publication Date – Use the date that the record is published, not when it was first drafted.
Creators – Add all relevant creators to the record. You can search Zenodo’s database of existing creators by name (“familyName, givenName”), or through ORCID. For each creator that you add to your dataset, add their ORCID (if known) and use the affiliation search to select their appropriate affiliation(s). Zenodo lists organizations that are managed by ROR. Optionally, add roles for each of the creators. The creators will be part of the citation to the record.
Description – Describe the content of the record clearly and concisely such that other researchers can understand what the record is about. Do not use the abstract of the related article. Consider using a README file for more detailed information (e.g. file organization).
Licenses – Zenodo will default to a CC-BY 4.0 license for your record. See our RDM website for additional information regarding how to choose an appropriate license.
Recommended information
Here you can provide additional information to further describe your record.
Contributors – Specify any additional persons who contributed to the creation of the record. NOTE: Contributors do not appear in the citation to the record and therefore will not receive full credit for any citations that the record accrues. Only use the Contributors field for those whose contributions do not warrant full authorship.
Keywords and Subjects – Select three or more unique, descriptive keywords. Keywords (along with Title) are used heavily in search algorithm prioritization, so having more descriptive keywords increases the likelihood of other researchers finding your record.
Languages – Optionally specify the languages of the record itself (i.e., not just the metadata).
Publisher – This refers to the organization who published the data. In almost all cases it is best to retain the default value of “Zenodo”.
Funding
Here you can provide grant and funding information for your record.
Awards/Grants – Provide all relevant grants which supported the creation of the research output. You can select “Add” to search the list of grants Zenodo’s pre-populated lists (e.g., EU-funded awards), or “Add Custom” to specify a grant not found in the list. Use this field to indicate FWO, BOF, IOF or other Flemish funding using the project identifier or contract number.
Related work
Here you can link your present record to other related work.
Related Work - Specify the relation between the present work and the specified other work (e.g. a research article, software, other datasets). This is preferred over using References. The most common relation type for datasets is “Is Supplement To” (followed by the DOI of the article that the dataset supports). See DataCite’s summary for a description of each relation type.
Software
Here you can provide additional information that might be specifically relevant for software records. See Preserve software in Zenodo for specific guidance on software.
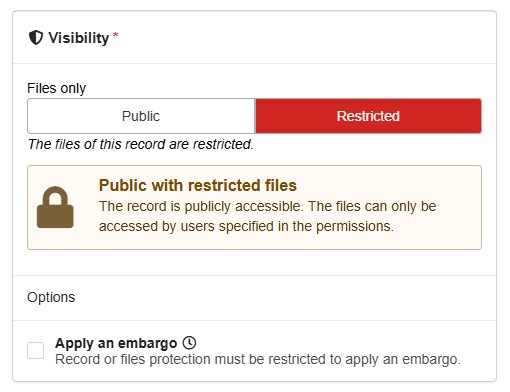
Visibility (dataset access levels)
In the sidebar on the right, the visibility or access level for your record can be specified. The specified access level applies to all files in the record. See our RDM website for more information on restricting data access, and research tip "When to use Zenodo to preserve and share research data?".
Select either Public/Open or Restricted access.
For restricted access:
- If your record can be made open later, specify an embargo period.
- Specify under which conditions an access request may be approved (see Share access).
Publish your record
When you are not ready to publish, you can save your record as draft.
When you are sure that all data files are correctly uploaded and described, publish your record. Note that after the publication of the record, no changes can be made to the files.
You can either choose to publish your record in a community or add it to a community after publication (see Communities). 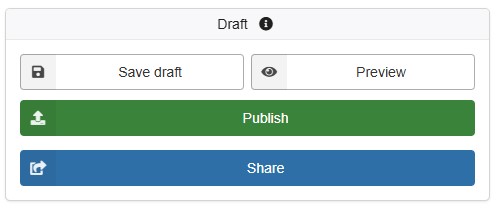
Share access to draft and restricted access records
To share access to a draft or restricted access record, click the “Share” button on the upper right of your record page.
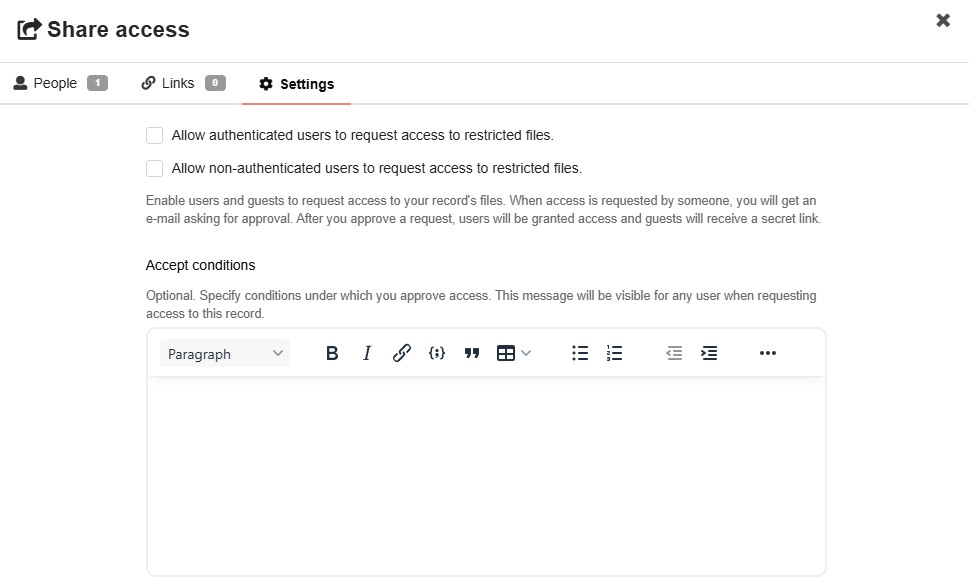
The Share access form has the following tabs:
- Share access with specific people.
- Create a share link.
- Specify the conditions under which you approve access in the Settings tab.
For each person that you share the record with, you can specify whether they have Read, Write, or Manage privileges for the record. This method is ideal for sharing with co-creators or reviewers, for instance:
- Share a draft record with the record’s co-creators.
- Share a restricted access record with the reviewers of a journal article.
- Share a link to a restricted access record in the case of blind peer review of a journal article.
Communities
Zenodo offers communities to group together related research outputs. There is no limit to the number of communities one record can join.
Two communities of particular interest are the Ghent University Research Data Community and the EU Open Research Repository.
Communities allow community members to curate its contents and to standardize and improve its metadata. Curators of a community can edit the metadata of your record. A record can be published directly into a community or added to a community after publishing.
- Publish directly into a community:
- Click the “Select a Community” button on top of the upload form and search for the name of the relevant community.
- Your record is reviewed by the community’s curators. After acceptance, the record becomes publicly visible.

- Add an already published record to a community:
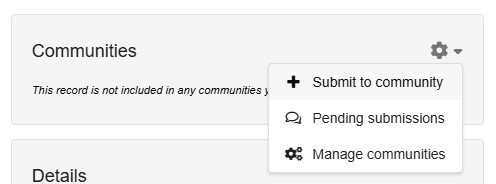
- Go to the published record.
- Click the gear icon next to “Communities”.
- Click “Submit to Community” and search for the name of the relevant community.
- The community curator will review and accept/decline your record into the community.
Why add my Zenodo record to the Ghent University Research Data Community?
The Ghent University Research Data Community in Zenodo is a curated community for datasets and software originating from research performed at Ghent University by researchers affiliated to the university. The Ghent University Research Data Community is managed and curated by the Ghent University Data Curators, members of Team Open Science.
- Data curation: the Ghent University data curators will review your record and provide recommendations for changes to your metadata and/or data to improve its FAIRness, with a particular emphasis on Flemish funding requirements.
- Value: records that are part of one or more communities will appear higher in Zenodo search results.
Preserve software in Zenodo
It is recommended to manage active software in a version control system such as GitHub. However, at the point of publication, we recommend archiving a specific release of your software, that is used e.g. in your journal article or for a specific analysis, in Zenodo.
When using GitHub.com, automated integration with Zenodo is possible (GitHub instructions, Zenodo instructions). An archive of a specific release of the GitHub repository is made in Zenodo, the archive is assigned a DOI and allows you and others to cite that specific version of the software. To enrich the metadata of your release and ensure consistency of your metdata across releases, a .zenodo.json file can be added to your git repository (Zenodo instructions). This ensures that the metadata remains stable, even when you publish in a new release in Zenodo. You will still retain the flexibiity to modify the metadata in Zenodo manually, if needed. Note that a new version of the Zenodo record for the new release will have a new DOI. Automated integration with an on-premise GitHub instance is currently not possible using this method.
A template and an example .zenodo.json file including further guidance are available on OSF.
Further reading
Further documentation is available at https://help.zenodo.org.
More tips
- How to preserve and share data in data repositories? (Publish)
- PID: What is a persistent identifier for publications and datasets? (Search / find)
- Zenodo: When to use Zenodo to preserve and share research data? (Publish)
Last modified Jan. 30, 2026, 12:23 p.m.